Here we go.....onto the next step:
MAKING A TEMPLATE: Grab an empty cereal box ( or just pull out the inside part and steal the cardboard). Cut the box open.
You have choices. You can use your already graded Template square ( which is far easier) to cut out your 6 inch fabric squares. If you have one of these plastic templates, which can be purhased from quilting/fabric stores, then you do not need to make a cardboard template.
OR: Make your own 6 inch square out of the cardboard cereal box.
Either way will work just fine. Here you can see the plastic template and the cardboard template are the same, in the end.
NEXT: Lay out your fabric, which has been washed, pressed, etc. ( I must admit, I don't always do this, and nothing bad has ever happened.....still it is a good idea to wash it first). Place template on straight edge/grain, like in the photo. Do not double fabric....it may seem like a good idea, but the sizing gets wrarped.
NEXT: Lay template beside pencil lines and draw next fabric markings......At this point feel free to tr and use many different colours, shades, etc. that you wish.
NEXT: Once you have a good swatch of fabric marke out, go ahead and cut on the pencil lines. If using a rotary cutter, be sure to use a green cutting mat. If using scissors, use good fabric scissors, not scissors you used to the cereal box with. I don't really count how many squares I will need. I just cut about a gazillion of light and dark. You will need some for the reverse side of the quilt. When figuring out how many squares you will need to sew into strips, sew up one strip , lay it on a bed to see how it will sit over the edge, and then leave enough room for a border.
GOOD REFERENCE POINTS: ( 6" squares) ( This is by no means accurate)
CRIB SIZE quilt will need about 120 squares( give or take) plus an added border. (12 across )
TWIN SIZE quilt needs at 480 squares( 16 across)
FULL SIZE 600 squares (20 across)
QUEEN size 700 squares 22 across)
KING SIZE 800 squres ( 30 across)
TO figure out how long to make it, you will have to lay it out on a bed to visualize it.
REMEMBER: Just cut what you need a first, then cut more as you go long.
NEXT: Lay two squares side by side. If one one square seems to"strong" a colour, then.....
.....turn it over and use the reverse side.
NEXT: With the two squares right sides together, add pencil marks as shown ( for now...you may not need to do it later on). These are your sewing refrence points. Try for a 1/4 inch from the edge.
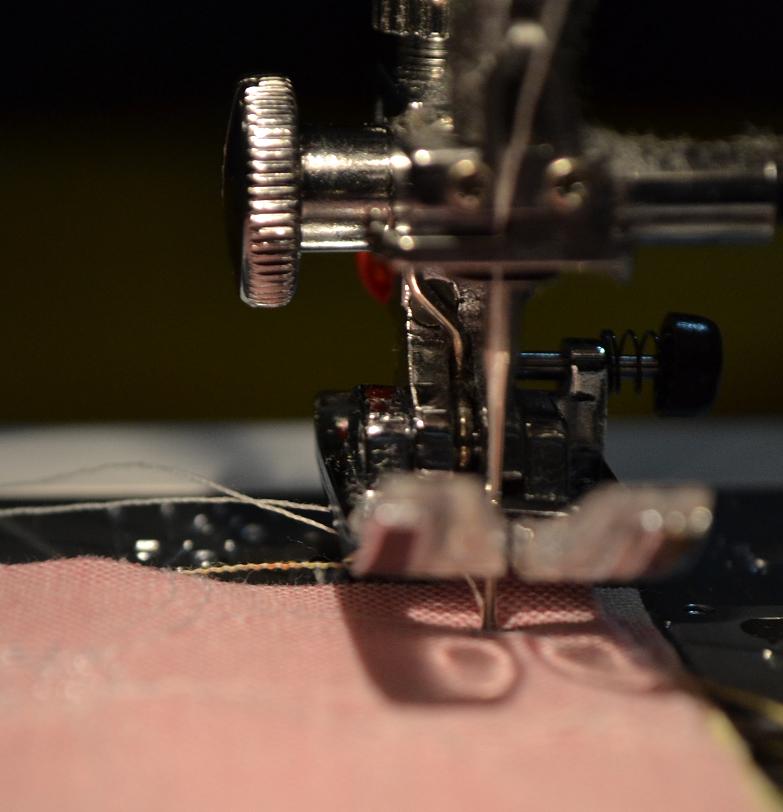
NEXT: Place machine needle in first corner pencil mark and start sewing.
NEXT: Sew right on towards the end, connecting the dots....
NEXT: End on the last pencil dot. Stop on the dot.
NEXT: Raise up pressure foot and cut all threads. Keep sewing like this to make all your squares sew together in strips.
NEXT: Add more squares in this fashion. Try the long strips on a bed, for sizing. As you do it, you will figure out how many squares you need. Make the strips, but do not join together just yet......that is for the next part...


No comments:
Post a Comment